Now that we have a Registration form, we need our users to be able to log inLogin:
Here's what we need to do:
- We must install a
device_info_pluspackage to get Device information. - We need a
login()function on our Auth Provider. - We need to add a Login form.
Installing New Package
First, we will need a package to be installed. This will be used to get the device name from the device. It is required by Laravel Sanctum to be passed in registration/login (as it is used to create named tokens):
flutter pub add device_info_plusAdding API Function
Next, we need to define our API function in API Service:
// ... Future<String> login( String email, String password, String device_name) async { String url = '$baseUrl/api/auth/login'; final http.Response response = await http.post( Uri.parse(url), headers: <String, String>{ 'Content-Type': 'application/json; charset=UTF-8', 'Accept': 'application/json', }, body: jsonEncode(<String, String>{ 'email': email, 'password': password, 'device_name': device_name, }), ); if (response.statusCode == 422) { final Map<String, dynamic> data = json.decode(response.body); final Map<String, dynamic> errors = data['errors']; String message = ''; errors.forEach((key, value) { value.forEach((error) { message += '$error\n'; }); }); throw Exception(message); } return response.body;} // ...Adding Login Functionality to Auth Provider
And, of course, we need to add a similar function to our Auth Provider:
// ... Future<String> register(String name, String email, String password, String password_confirmation, String device_name) async { String token = await apiService.register( name, email, password, password_confirmation, device_name); isAuthenticated = true; notifyListeners(); return token;} Future<String> login( String email, String password, String device_name) async { String token = await apiService.login(email, password, device_name); isAuthenticated = true; notifyListeners(); return token;} // ...Adding Device Information to Registration
We have to modify our Registration to also include a device_name:
import 'dart:io';import 'package:flutter/services.dart';import 'package:device_info_plus/device_info_plus.dart'; // ...class RegisterState extends State<Register> { // ... late String deviceName; @override void initState() { super.initState(); getDeviceName(); } Future<void> getDeviceName() async { try { DeviceInfoPlugin deviceInfo = DeviceInfoPlugin(); if (Platform.isAndroid) { AndroidDeviceInfo androidInfo = await deviceInfo.androidInfo; setState(() { deviceName = androidInfo.model; }); } else if (Platform.isIOS) { IosDeviceInfo iosInfo = await deviceInfo.iosInfo; setState(() { deviceName = iosInfo.name; }); } } catch (e) { setState(() { deviceName = 'Could not retrieve device name'; }); } } Future<void> submit() async { final form = _formKey.currentState; if (!form!.validate()) { return; } final AuthProvider provider = Provider.of<AuthProvider>(context, listen: false); try { String token = await provider.register( nameController.text, emailController.text, passwordController.text, confirmPasswordController.text, 'Some device name'); deviceName); Navigator.pop(context); } catch (Exception) { setState(() { errorMessage = Exception.toString().replaceAll('Exception: ', ''); }); } } // ...Adding Login Form
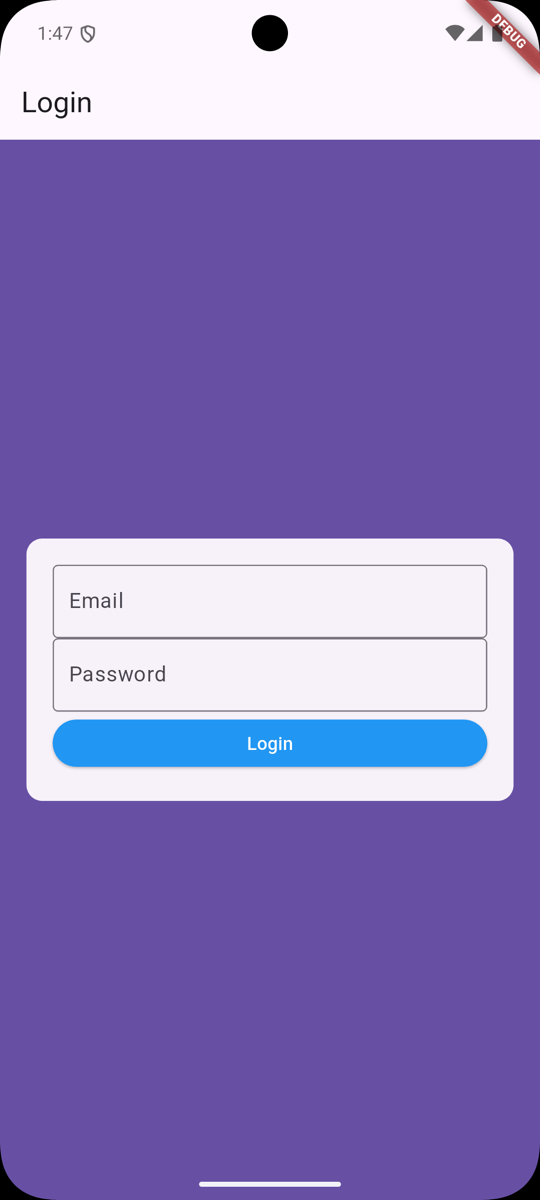
Now it's time to add our Login form. There are many things to do here, but it follows the same pattern as the Registration form. So, we'll skip the line-by-line explanation:
import 'package:flutter/material.dart';import 'package:flutter/services.dart';import 'package:laravel_api_flutter_app/providers/auth_provider.dart';import 'package:provider/provider.dart';import 'package:device_info_plus/device_info_plus.dart';import 'dart:io'; class Login extends StatefulWidget { const Login({super.key}); @override LoginState createState() => LoginState();} class LoginState extends State< Login> { final GlobalKey<FormState> _formKey = GlobalKey<FormState>(); final emailController = TextEditingController(); final passwordController = TextEditingController(); String errorMessage = ''; late String deviceName; @override void initState() { super.initState(); getDeviceName(); } Future<void> getDeviceName() async { try { DeviceInfoPlugin deviceInfo = DeviceInfoPlugin(); if (Platform.isAndroid) { AndroidDeviceInfo androidInfo = await deviceInfo.androidInfo; setState(() { deviceName = androidInfo.model; }); } else if (Platform.isIOS) { IosDeviceInfo iosInfo = await deviceInfo.iosInfo; setState(() { deviceName = iosInfo.name; }); } } catch (e) { setState(() { deviceName = 'Could not retrieve device name'; }); } } Future<void> submit() async { final form = _formKey.currentState; if (!form!.validate()) { return; } final AuthProvider provider = Provider.of<AuthProvider>(context, listen: false); try { String token = await provider.login( emailController.text, passwordController.text, deviceName); } catch (Exception) { setState(() { errorMessage = Exception.toString().replaceAll('Exception: ', ''); }); } } @override Widget build(BuildContext context) { return Scaffold( appBar: AppBar( title: Text('Login'), ), body: Container( color: Theme.of(context).primaryColor, child: Column( mainAxisAlignment: MainAxisAlignment.center, children: <Widget>[ Card( elevation: 0, margin: EdgeInsets.only(left: 20, right: 20), child: Padding( padding: EdgeInsets.all(20.0), child: Form( key: _formKey, child: Column( children: <Widget>[ TextFormField( keyboardType: TextInputType.emailAddress, controller: emailController, validator: (String? value) { // Validation condition if (value!.trim().isEmpty) { return 'Please enter email'; } return null; }, decoration: InputDecoration( border: OutlineInputBorder(), labelText: 'Email', ), ), SizedBox(height: 20), // Acts as a spacer TextFormField( keyboardType: TextInputType.visiblePassword, controller: passwordController, obscureText: true, autocorrect: false, enableSuggestions: false, validator: (String? value) { // Validation condition if (value!.isEmpty) { return 'Please enter password'; } return null; }, decoration: InputDecoration( border: OutlineInputBorder(), labelText: 'Password', ), ), SizedBox(height: 20), // Acts as a spacer ElevatedButton( onPressed: () { submit(); }, style: ElevatedButton.styleFrom( backgroundColor: Colors.purple, foregroundColor: Colors.white, minimumSize: Size(double.infinity, 40), ), child: Text('Login'), ), Text(errorMessage, style: TextStyle(color: Colors.red)), Padding( padding: EdgeInsets.only(top: 20), // Different way to add padding child: InkWell( child: Text('Register new User'), onTap: () => Navigator.pushNamed(context, '/register')), ) ], ), ), ), ) ], ))); }}That's it! We should now be able to log in with our registered user.
Note: Refreshing the app will log you out. In a few lessons, we will add a way to persist the login state.
In the next lesson, we will add API token support to our API service. We skipped it because we did not have a way to Log in. Now that we have a login form, we can add API token support and revert some Laravel code changes.
Check out the GitHub Commit for this lesson.